|
|
 |
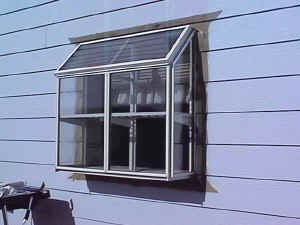
| Here is our old crummy aluminum garden window. If you look at the left side you can see the moisture between the glass. | We unpack our new True-Frame vinyl garden window. |
 |
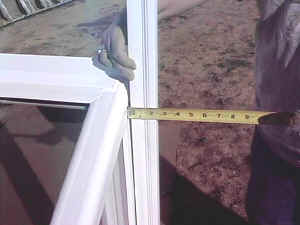 |
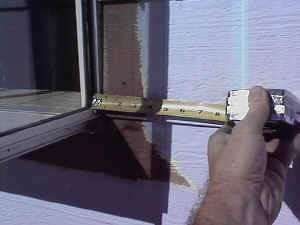
| I measured the old and new windows to see how much I have to cut back the siding to accommodate the new window and the brick mould I will be using. | I am measuring the new window and the brick mould to figure how much to cut the siding back. |
 |
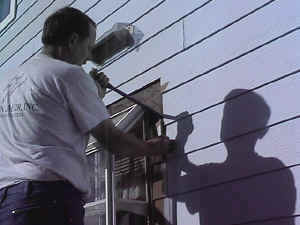 |
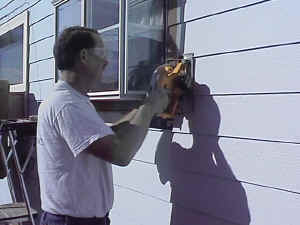
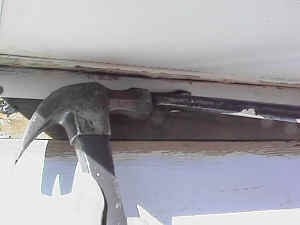
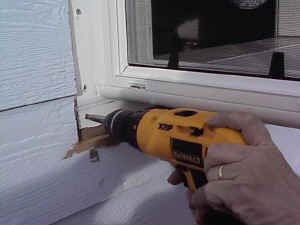
| After marking the siding, I use Kathy's cordless circular saw to cut back the siding. I adjusted the depth so that I would not cut through the flashing paper under the siding. | Now I use a bar to remove the pieces of siding, being careful not to tear the flashing paper. |
 |
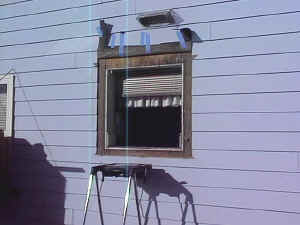 |
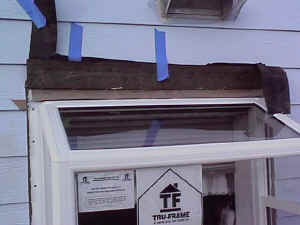
| Removing the nails from the old window. | Here is the opening with the window removed and the flashing taped up out of the way. |
 |
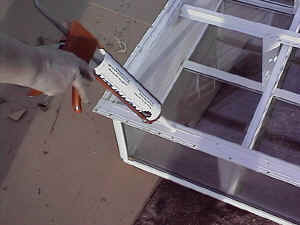 |
| We now installed new sisel kraft flashing paper on the bottom and the sides, always making sure that everything overlaps from top to bottom. | We caulk the new garden window nailing flange to make sure it is sealed. Use a good quality caulk like XtraBond 9500, that we carry (See our products page). |
 |
 |
| We now position the new window in the opening so that it is centered, and fasten it with galvanized screws. | I now install new flashing paper up under the existing building paper, and then overlapping the top nailing flange on the window. Remember, everything should overlap from top to bottom. |
 |
 |
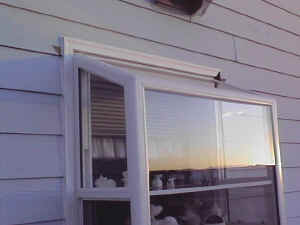
| We now cut and attach the vinyl brick mould. Being vinyl we don't have to worry about painting it or how it will hold up to the weather. We stock vinyl moulding in several different styles. | Caulk well with a good quality caulking, both between the siding and brick mould, and between the brickmould and the window. And that's it! With about 3-4 hours work we have a new garden window. |